Setting up GitHub Desktop
GitHub Desktop is a much more user-friendly and accessible alternative to command line. You can install it on Windows, Mac or Linux.
Installation and Configuration
You need a GitHub account to get started with GitHub Desktop. Create one here if you haven’t already done so.
The installation process for GitHub Desktop is the following:
- Check if your operating system contains Git: type
git versionin the command line. If the response is similar to this, skip point 2:git version 2.44.0 - Install Git from the official website. Choose the installation file appropriate for your operating system.
- Download GitHub Desktop from the official website. Select the appropriate version for your operating system.
- Go to your Downloads folder and double-click the GitHub Dekstop installation file.
- Follow the installation prompts. Once finished, GitHub Desktop will launch automatically.
Signing in to GitHub Desktop
After installation, connect your GitHub account to the desktop app:
- When GitHub Desktop launches, click the appropriate Sign in option. This will open a browser window where you will be able to continue the authentication process.
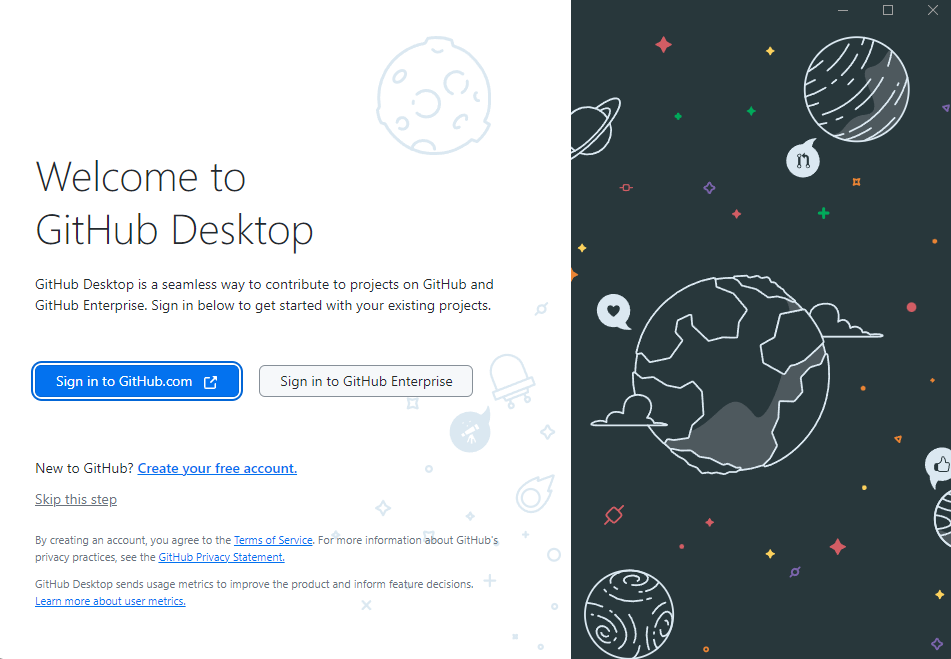
- In the browser window, enter your GitHub credentials and click Sign in. If you’ve signed in before, click Continue next to your account.
- Follow the prompts on screen to return to GitHub Desktop.
- In the Configure Git window, select Use my GitHub account name and email address. Enter your GitHub login details if they haven’t been pre-filled.
- Click Finish.
Now you can set up your first GitHub repository following the prompts on your screen. Learn more about creating repositories here.
Note: Your repository must be public when using a free GitHub account with GitHub Pages. Click here to learn more about repository’s visibility settings.
Cloning the Repository Using GitHub Desktop
- Open GitHub Desktop.
- Click File > Clone Repository.
- Select the http://GitHub.com tab.
- Locate and select your newly created repository (e.g., my-documentation)
- Choose a local path to store the project files.
- Click Clone.
Opening the Project in Visual Studio Code
- Once you cloned your repository, click Open in Visual Studio Code in GitHub Desktop. You can also open VS Code manually - go to File > Open Folder and select your cloned repository.
You should be able to see the project structure in the Explorer pane of VS Code.
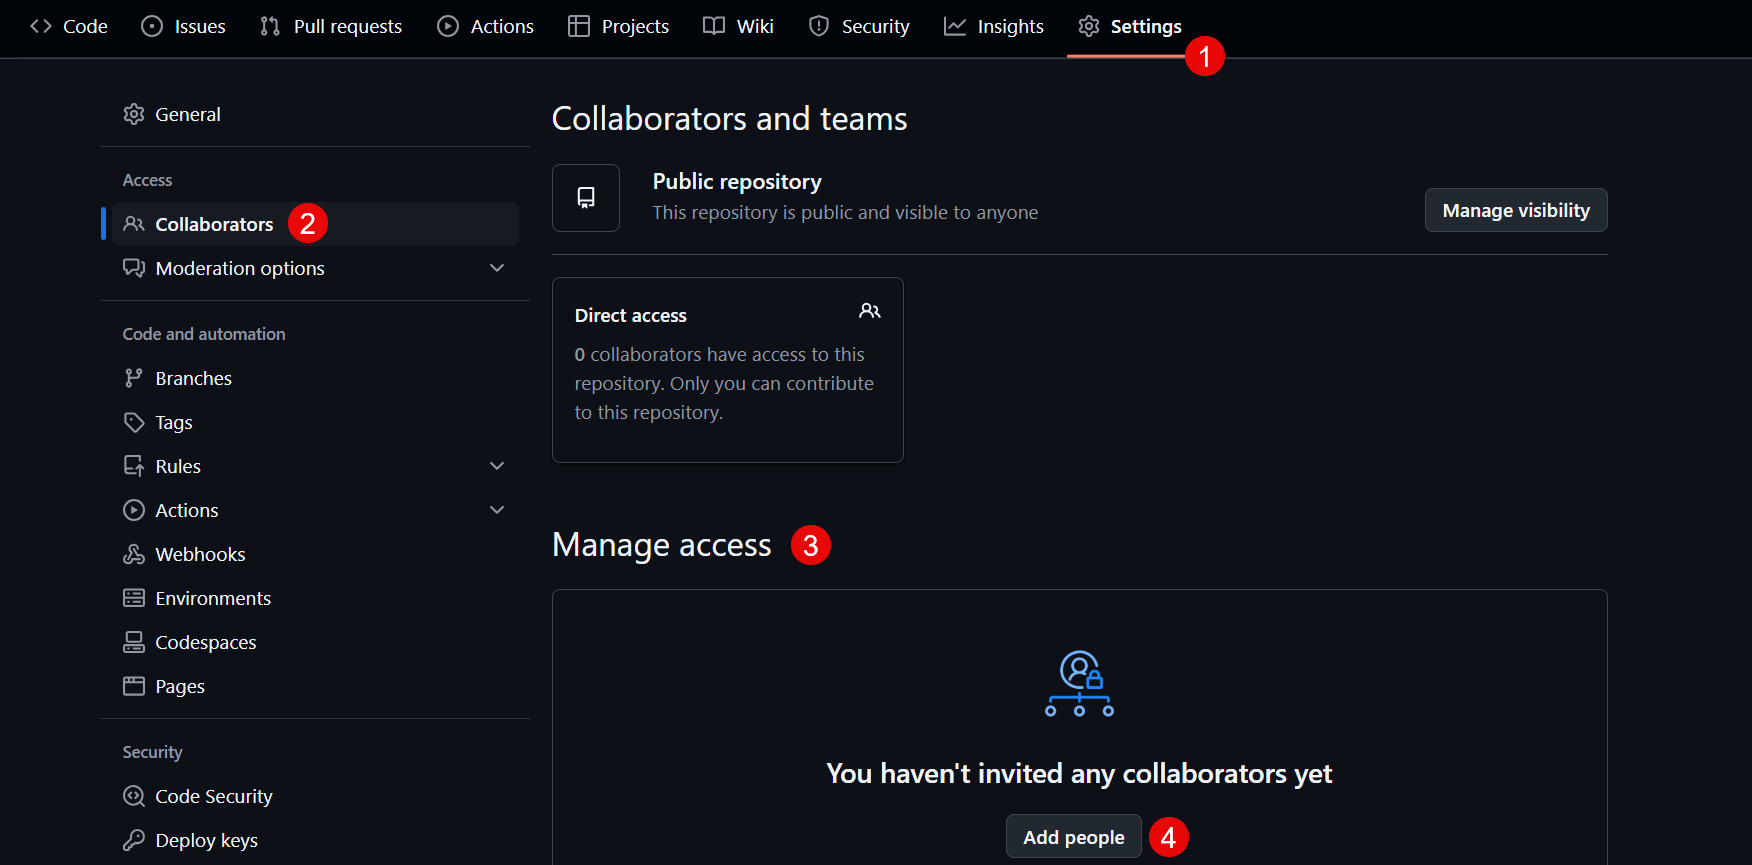
Adding collaborators or reviewers
- Open your repository in a browser.
- Navigate to Settings > Collaborators > Manage Access.
- Click Add people and enter the GitHub usernames or email addresses of users you would like to grant access to.